
How to Edit Product Photos Free on Your Phone — How-To #040
To edit product photos free, shoot in window light on a plain background, then use a free photo editing app to crop, straighten, brighten, fix the color, and sharpen. No paid app and no new phone is needed: the free versions in this post cover every edit below. The honest order matters — a good photo is made when you shoot it, and editing only polishes what the light already gave you. Get the light right and the edits take minutes; skip the light and no app will save the shot.
Disclosure: some links on this page are affiliate links. If you buy through one, Changenaire may earn a commission at no extra cost to you. As an Amazon Associate, Changenaire earns from qualifying purchases made through links on this page.
Key takeaways
- Good product photos start with window light and a plain background — editing polishes, it does not rescue.
- Every app in this post has a real free version; the free limits are spelled out before you pick one.
- Run the five edits in order: crop, straighten, brighten, fix the color, sharpen.
- The cheapest clean background is a reshoot on white card or a plain sheet.
- You do not need a new phone — light, a steady phone, and a plain background matter more.
Buyers cannot pick your product up, so the photo does the holding. A blurry, yellow, cluttered photo tells the buyer the product might be blurry, yellow, and cluttered too — fairly or not. The fix is not expensive gear. It is a window, a plain background, a steady phone, and five small edits in a free app. More step-by-step guides in this series live on the Changenaire Blog.
Free route first, all the way through this post: every app below links to its own official page, every free limit is stated where it is known, and anything that costs money is marked optional and kept separate from the steps. Nothing here needs paying for.
Optional gear (affiliate links — we may earn a commission): you do not need any of this — window light, a white card, and a stack of books do the same job. If you want steadier shots, a ULANZI MT-44 phone tripod, a NEEWER NL-36AI small LED light with desk stand, and a MDAOCRY tabletop backdrop board kit are the three pieces worth owning first (Amazon Associates links — we may earn a commission). Optional only; the steps below stand on their own. And for the longer version of the craft, How to Shoot Video That Doesn't Suck by Steve Stockman teaches framing, light, and sound in plain English — the book behind the shots above.
Shoot it right with the phone you have
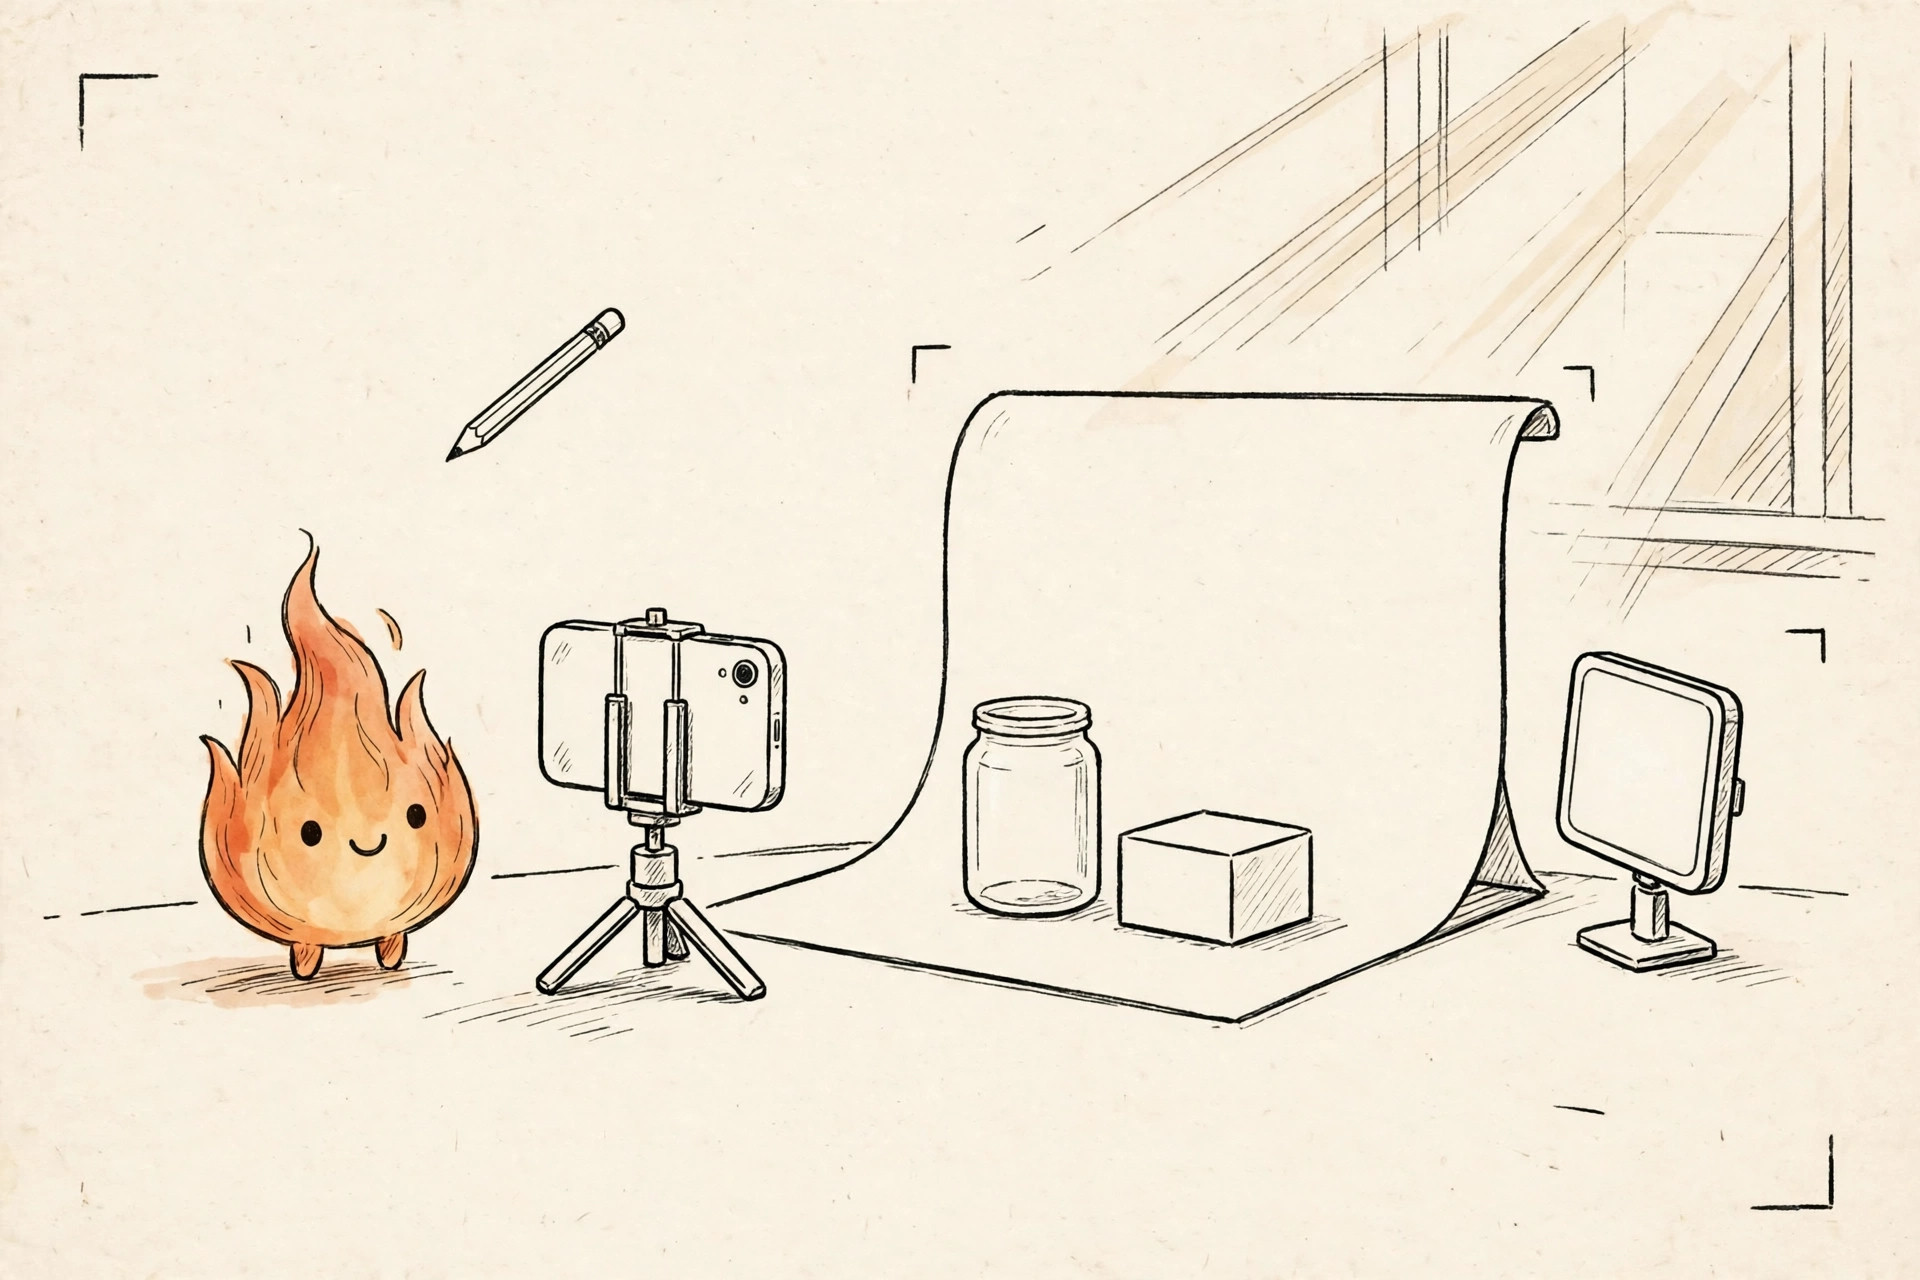
Put the product near a window in soft daylight — not in direct sun, which throws hard shadows, and not under a ceiling bulb, which turns everything yellow. Morning light through a sheer curtain is the best free studio there is. Set the product on a plain background: a sheet of white card curved up behind it, a plain sheet, a clean table. Plain beats pretty, because the buyer is looking at the product, not the set.
Hold the phone steady. Lean it against a stack of books, prop it on a mug, or rest your elbows on the table — a sharp photo starts with a still phone. Wipe the lens first; a smudged lens is a common reason phone photos look soft. Fill most of the frame with the product, leave a little room around the edges for cropping later, and take several shots from several angles: front, side, detail, and one showing size next to something familiar, like a hand or a coin.
Do not buy a new phone for this. The phone you already have, in good window light, on a plain background, held steady, takes a photo good enough to sell with. A new phone in bad light takes a bad photo faster — the light is the upgrade, and it is free. How to Start an Online Store (How-To #007) puts photos in their place: the store is the shelf, and the photo is what makes a stranger stop at it.
Pick one free photo editing app
Pick one app and learn it. Five apps, five honest free versions, each linked to its own official page. Free limits change — check the current limits on the app's own page before you build a workflow around one.
Snapseed is the fullest free option: Google's own listing for Snapseed on Google Play promises more than 30 pro tools and filters with no subscriptions, purchases, ads, or watermarks, as of November 2026. That is the whole app, free, with nothing held back — the pick if you want one app that does everything in this post.
Google Photos is the fastest option for a quick fix on a photo you already took: Google's own help page for editing photos covers filters, cropping, and light and color adjustments on mobile and computer. Use it when the photo needs a quick fix, not a full session — and check the app for the current limits on its newer tools, which change more often than the basic ones.
Lightroom on mobile is free to download with real editing power: Adobe's own mobile FAQ says you can use all capture, organization, and sharing features for free, plus most editing tools. The paid side holds cloud storage, syncing across devices, the healing brush, masking, geometry tools, batch editing, raw editing, and smart search — everything else in this post works on the free side.
Canva Free is the pick when the photo needs words on it — a price, a label, a listing graphic. Canva's own pricing page lists a free plan for one person, with the editor, templates, 5GB of storage, and up to 20 AI tool uses a month, checked October 2026. The limit that matters here: the one-click background remover is not on the free plan, so don't build your background workflow around it unless you plan to pay.
Photopea is the pick when you are at a computer and want the deepest free editor: it runs in a browser with no download, and Photopea's own site describes it as a free online photo editor with professional-grade tools. The free version is supported by ads, and a paid option removes them — check the current limits on Photopea's own account page, since the free version's storage and AI allowances sit there, not on a public pricing page.
| App | Free version | What costs money |
|---|---|---|
| Snapseed | Whole app: 30+ tools, no ads, no watermarks | Nothing — no paid tier |
| Google Photos | Editor built in: filters, crop, light, color | Some newer tools have their own limits — check the app |
| Lightroom mobile | Capture, organize, share, most editing tools | Sync, healing, masking, batch, raw editing |
| Canva Free | Editor, templates, 5GB storage, up to 20 AI uses a month | Background remover, premium content, more storage |
| Photopea | Full editor in a browser, supported by ads | Ad-free use and more storage |
Run the five free edits in order
Open the photo in your one app and work in this order. The order matters: each edit builds on the last, and fixing color before cropping wastes effort on pixels you will cut away.
First, crop and straighten. Cut away the empty table, the window edge, the clutter at the frame's edge. Straighten so the product's edges run true — a tilted jar looks like a mistake, even when the jar is fine. Second, brightness: lift it a little at a time until the product looks like it does in the room, not darker. Third, warmth: slide until whites look white instead of yellow or blue. Room light lies about color; this slider tells the truth back.
Fourth, a little contrast — just enough that the product stands apart from the background, not so much that shadows turn black. Fifth, a touch of sharpening, and stop: over-sharpened photos look crunchy and cheap, and buyers notice. Small moves, in order, beat one heavy filter every time. Filters that change the product's color are the one edit to refuse outright — a buyer who receives a different color than the photo showed is a return, a bad review, or both.
Fix the background without paying
The cheapest clean background is a reshoot. If the photo has a messy background, put the product back on the white card, near the window, and shoot it again — two minutes of reshooting beats twenty minutes of editing, and the result looks better. Most background problems are shooting problems wearing an editing costume.
If the shot is already taken and cannot be repeated, use your free editor's selection tools: select the product, tidy the edges, and lift it onto a plain white or light background. Work zoomed in around the edges — rough edges shout "edited" louder than any filter. Keep the product's true color through all of it. And if your app's one-click background tool is behind a paywall, as Canva's is on the free plan, don't pay for it on impulse: the selection tools in the free editors above do the same job with a few more minutes.
One rule for every marketplace: check that marketplace's own photo rules before you upload. Each one has its own requirements for backgrounds, sizes, and what may appear in the main image, and the rules change — the marketplace's own seller pages are the final word, not this post and not a tutorial from last year.
Save, name, and reuse the photo
Export at full size. A small export looks fine on your phone and blurry everywhere else, and you cannot add back detail you threw away — keep the original untouched, and save the edited copy beside it. Name the file after the product, in plain words: a file named for the product is findable a year later, and a file named with numbers is not.
Then reuse the same good photo everywhere it fits: the listing, the store page, and your content. One strong photo, used consistently, builds recognition faster than five different shots of the same thing. How to Sell Digital Products on Etsy (How-To #013) shows where listing photos earn their keep, and How to Start Creating Content From Zero (How-To #031) shows how the same photos become the raw material for posts — shoot once, use it twice.
Build the habit, not the archive: one product, one session, five edits, one listing photo you are proud of. The second product goes faster, the tenth goes faster still, and by then the routine is the easy part.
At a glance
| Step | The short version |
|---|---|
| Shoot it right | Window light, plain background, steady phone, product fills the frame |
| Pick one free app | Snapseed, Google Photos, Lightroom mobile, Canva Free, or Photopea |
| Five edits in order | Crop, straighten, brighten, fix the color, sharpen — small moves |
| Fix the background | Reshoot on white card first; selection tools second; never lie about color |
| Save and reuse | Full size, named for the product, original kept; reuse in listings and content |
Common mistakes
Shooting under a ceiling bulb. Yellow light makes every edit harder and every color wrong. Fix: window light, soft daylight, no direct sun.
Editing a photo that should be reshot. Twenty minutes of editing cannot beat two minutes of reshooting on a plain background. Fix: if the background is messy, shoot it again.
Filters that change the product's color. A buyer who receives a different color than the photo showed is a return waiting to happen. Fix: fix the color until it matches the room, then stop.
Over-sharpening. Crunchy edges look cheap and shout "edited." Fix: a touch of sharpening, then stop — less is more.
Paying before trying the free version. Every edit in this post works free, and paid features mostly save minutes, not quality. Fix: run the whole routine free first; pay only for a limit you actually hit.
Questions people ask
Which free photo editing app should I start with?
Start with Snapseed if you want the full set of tools free, or with Google Photos if you want the fastest fix on a photo you already took. Both are free, and either one covers the five edits in this post.
Can I edit product photos on my phone for free?
Yes. Shoot in window light on a plain background, then crop, straighten, brighten, fix the color, and sharpen in a free app. No paid app is needed for any step in this post.
Do I need a new phone for good product photos?
No. Light, a steady phone, and a plain background matter more than the phone itself. The phone you already have is enough to start — spend nothing until your photos are paying for themselves.
How do I remove the background for free?
The easiest free way is to reshoot the product on white card or a plain sheet, so there is nothing to remove. If the shot is already taken, a free browser editor's selection tools can tidy the background — and remember that Canva's one-click background remover is a paid feature, not part of its free plan.
What comes next
Pick one product and one app tonight. Shoot it by the window tomorrow morning, run the five edits, and put the result in your listing. One good photo, made free, teaches more than a week of reading about photography — and the second product will take half the time.
Sources
Every fact in this post was checked against the sources below in November 2026. Free limits change — check the app's own page for the current limits before you build a workflow around one.
- Google Play — Snapseed, by Google LLC — more than 30 pro tools and filters, with no subscriptions, purchases, ads, or watermarks.
- Google Photos Help — Edit your photos (Android) — filters, cropping, and light and color adjustments on mobile and computer.
- Adobe Help — Adobe Lightroom on mobile FAQ — all capture, organization, and sharing features free, plus most editing tools; premium features include cloud storage, sync, healing brush, masking, geometry tools, batch editing, raw editing, and smart search.
- Canva — Pricing: Compare Free, Pro, Business and Enterprise plans — free plan for one person, with the editor, templates, 5GB of storage, and up to 20 AI tool uses a month, checked October 2026; the background remover is not on the free plan.
- Photopea — Free Online Photo Editor — a free photo editor that runs in a browser with professional-grade tools and no download; the free version is supported by ads.
Subscribe for more free step-by-step how-to guides to help you get more things done to grow your business or project everyday.
Unsubscribe anytime.